Drywall Finished Flat Enough to Show Under Paint
Drywall installation and repair in Evansville for new construction, remodels, or damaged surfaces that need refinishing
The condition of a finished drywall surface becomes fully visible only after primer goes on—ridges at butt joints, tool marks in compound, and feathered edges that were not sanded far enough all read clearly under flat paint and more so under eggshell or satin sheens. Hirsch Contracting LLC handles drywall installation and finishing in Evansville with a crew whose experience spans two to twenty years in construction, and whose work produces surfaces that hold up under the paint finishes homeowners actually want to use. The owner brings fifteen years in the trade to every job.
The process runs from measurement and cut through hang, tape, and finish in sequence. Sheets are cut to fit the room layout and fastened with the correct fastener pattern for the stud spacing involved. Tape and joint compound are applied in multiple coats with sanding between applications—compound applied too thick in a single coat shrinks and cracks as it cures, which is the main cause of joint cracking that appears after a room is painted. The final surface is ready for primer when it is done.
Set up a free estimate with Hirsch Contracting to evaluate the drywall scope on your project and determine what finish level the application requires.
The Difference Between Level 4 and Level 5 Drywall Finish
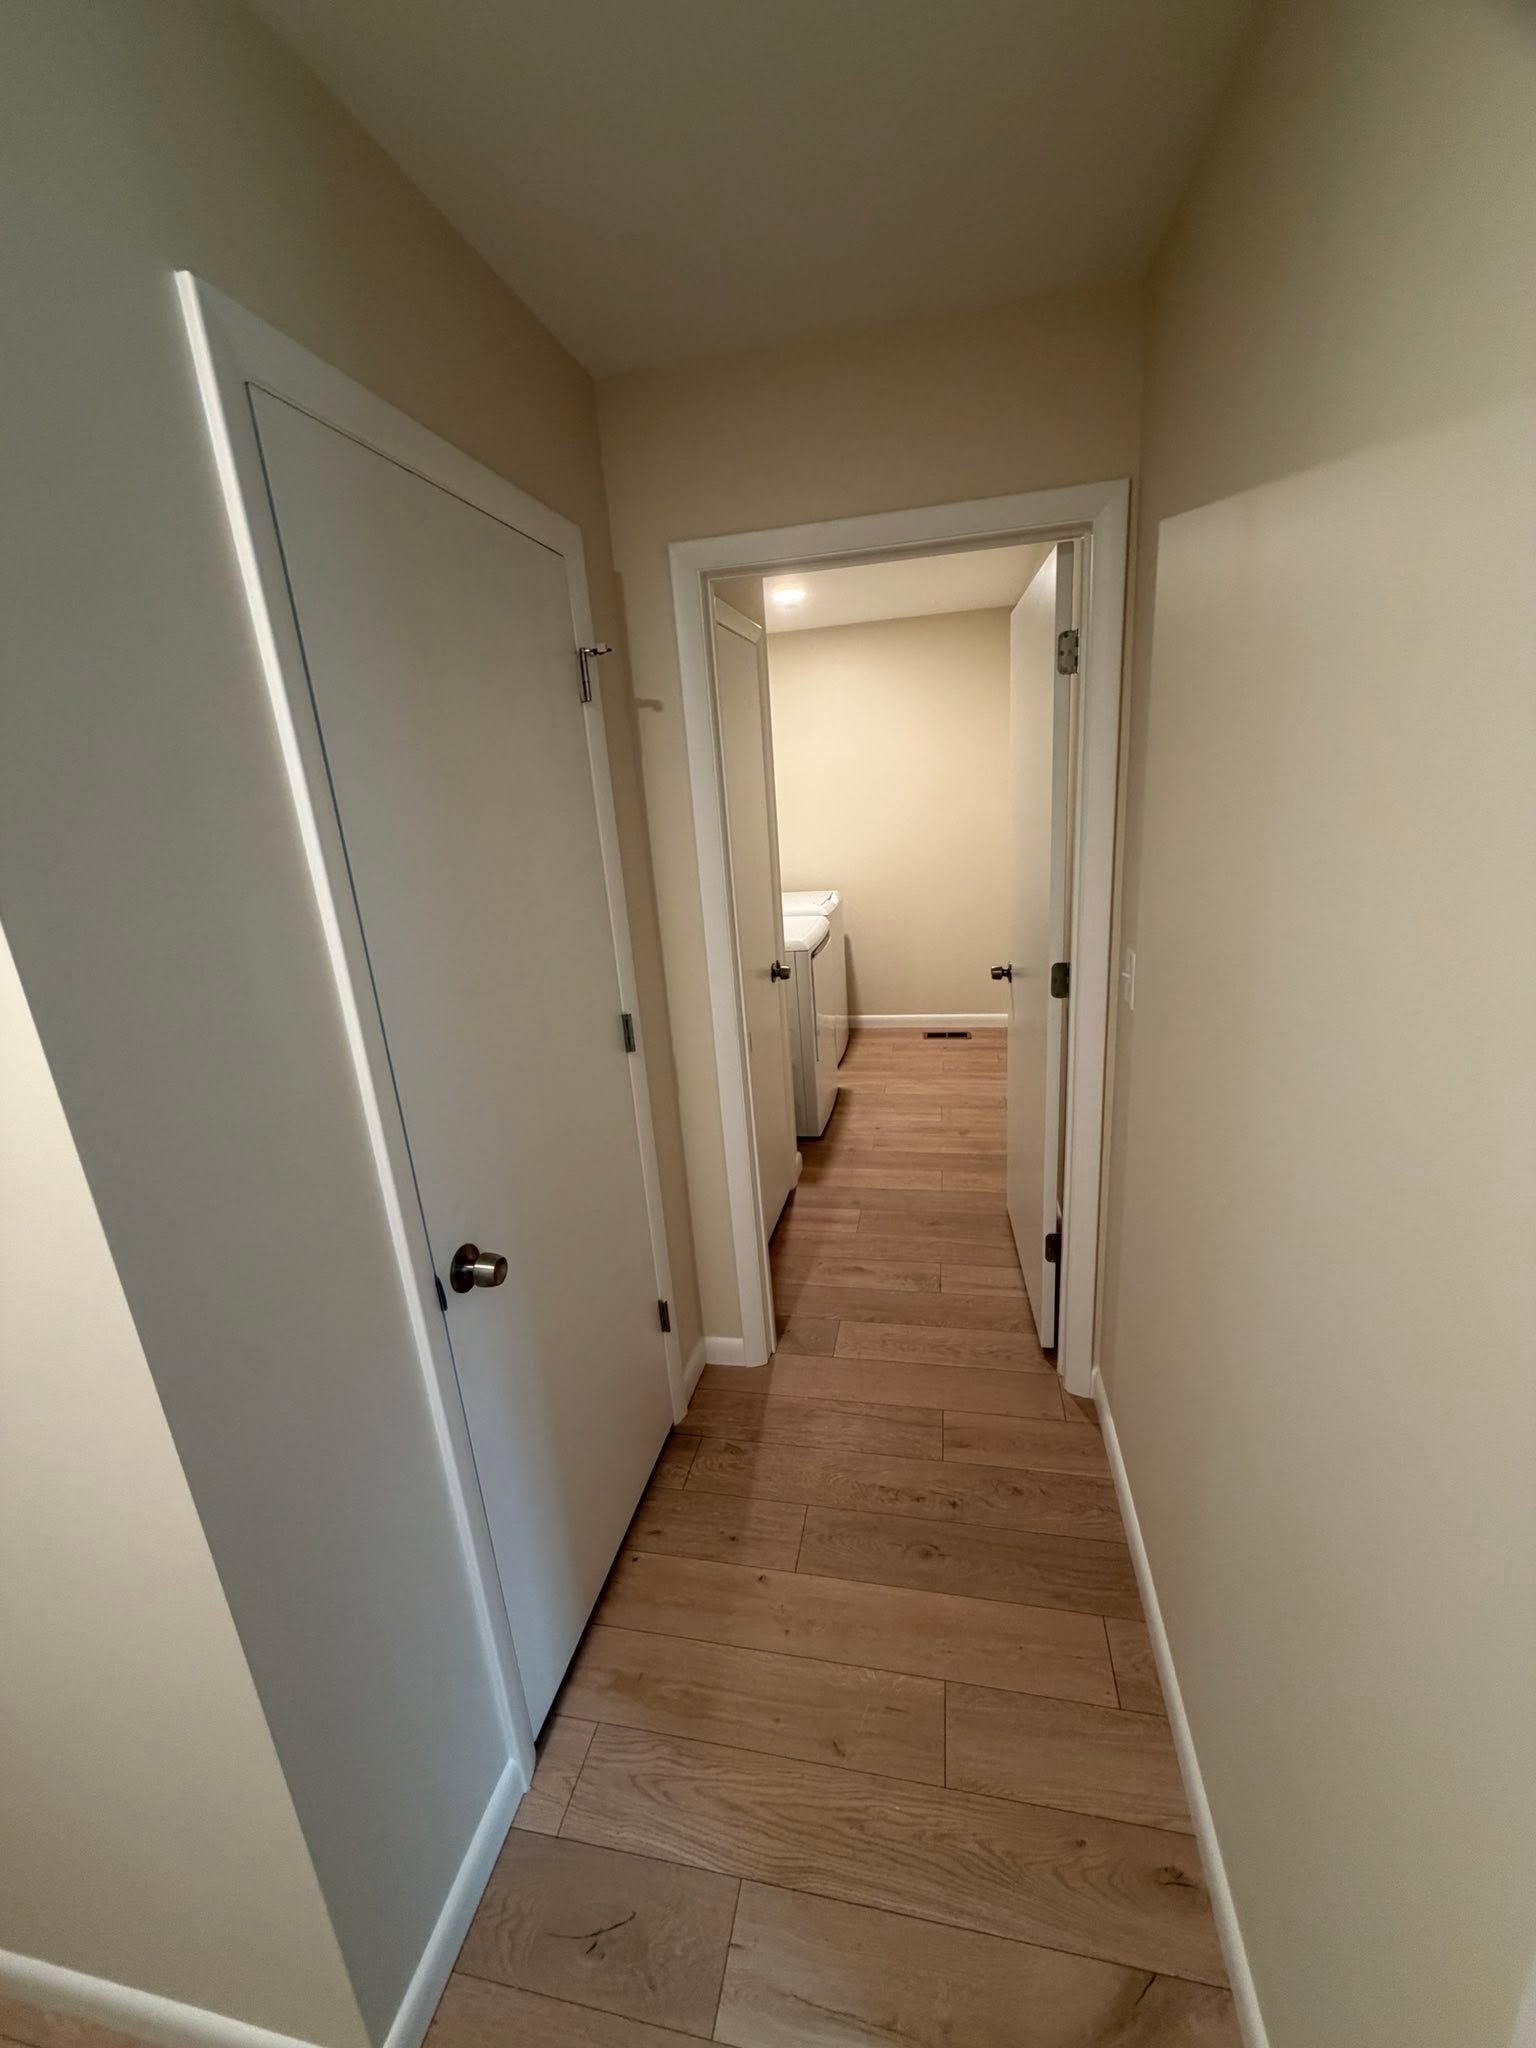
Drywall finish is specified in levels from zero through five, and the level required depends entirely on how the surface will be lit and what paint sheen will be applied over it. A Level 4 finish—tape embedded, three coats of compound, sanded smooth—is standard for most residential walls and ceilings with flat or low-sheen paint. A Level 5 finish adds a thin skim coat of compound over the entire surface, which eliminates the slight difference in surface texture between the compound at joints and the paper face of the drywall field; that texture difference telegraphs through gloss and semi-gloss paint under raking light, and Level 5 is the correct specification for those applications. Hirsch Contracting identifies the right finish level for each surface before taping begins.
After the finish is complete and primer has been applied, the surface should appear consistent in sheen and texture across the full wall plane with no visible ridges at joints, no fastener dimples that read above or below the surface, and no areas where compound was feathered too abruptly and left a shadow line. Boonville and Haubstadt area homes that are being renovated or repaired often require blending new drywall work into existing walls that have been textured, which adds a matching step that changes the finishing sequence.
Inside corners are finished with paper tape embedded in compound rather than metal corner bead, which allows the corner to flex slightly as the structure moves without cracking; outside corners use metal or vinyl bead to protect the edge from impact damage. Both require multiple compound coats and careful sanding to remain straight and even along their length.
What Property Owners Ask About the Drywall Work
The questions below address how drywall installation and finishing are performed, what causes common surface problems, and what a correctly finished surface looks like before paint is applied.
Why does joint compound need to be applied in multiple coats rather than one thick application?
Each coat of compound shrinks as the water content evaporates during curing; a thick single coat shrinks enough to crack at the center of the application, while thin successive coats shrink only slightly and can be sanded flat between applications without disturbing the tape beneath.
How is drywall hung differently on ceilings compared to walls?
Ceiling drywall is hung perpendicular to the joists and fastened at closer intervals than wall panels to prevent sag; in older homes where joist spacing is inconsistent or where framing has moved, additional blocking may need to be added before sheets can be hung at the required fastener pattern.
What causes drywall seams to crack after a room is repainted?
Cracking at seams after repainting almost always indicates that the tape was applied over compound that was not fully dry before the next coat went on, or that the original compound was applied too thick and the internal shrinkage stress eventually overcame the tape bond—properly sequenced finishing prevents both conditions.
How is texture matched on a wall where only part of the drywall was repaired?
The existing texture pattern is identified—orange peel, knockdown, or hand-applied skip trowel are the most common in residential work—and the new compound is applied using the same tool and technique to approximate the pattern before it cures; matching texture is a skill-dependent step that affects whether the repair is visible after paint.
What should a finished drywall surface feel like when you run a hand across it before priming?
The surface should feel uniformly smooth across joint areas with no ridge where the compound feathers out to the drywall face, no grit from incompletely sanded compound, and no raised fastener dimples—any of those conditions will read visually after primer is applied.
Hirsch Contracting LLC is available to assess your drywall scope, specify the correct finish level for each surface, and provide a free estimate before work begins. Hirsch Contracting LLC also performs
drywall installation and repair in Haubstadt, Boonville, Chandler, Evansville,, and Rockport.